So lots of pictures on this post....I'll just apologize ahead of time! I either got carried away on the picture taking or this project was a big deal. It actually was a bigger deal than we thought it would be.
I guess it started awhile back when I mentioned to Dustin what a total pain it is for the kids to lug down big piles of laundry
THREE flights of stairs. Well, actually 2 flights of stairs most of the time and then they end up flinging it all down to the basement where I have to step over the big pile, collect, and sort it all in the laundry room.
While daydreaming one day (something both Dustin and I do a lot - I catch him staring at some part of the house and ask him what he's thinking about - he's mentally got some project all planned out in his head) I thought it might be possible to turn the old chimney shaft into a laundry chute. It goes from Ethan's room to the kitchen area, and then under the kitchen area is the laundry room....PERFECT! Right?
Well, last weekend Dustin thought it would be a fun, cheap, doable weekend project. He asked if that would be okay to start it and I said, "Sure, go for it!"
To give you an idea of what I'm talking about, I'll show this picture that was taken before we even moved in. The old chimney is the long, rectangular box right in the middle of the picture....

This is how we used the space up until this last weekend....a temporary seating area to hang out and watch TV. You can see the plaster was chipping off and they put some funky paneling under it instead of drywall. I thought there would be some hidden compartment behind the panel.....or maybe some more treasures. Nope, just the old lathe and plaster. Oh, and an old hammer head....if you can call that a treasure!

Here's Dustin "prepping" the area for a possible messing job ahead. I saw some holes in between the staples but I didn't say anything because I thought it couldn't possibly make that much of a difference, right?......

Here he starts the demolition. The old lathe and plaster being revealed. This is where I happily leave him to his project while I run some errands....

Yes, this picture is in focus.....it's just the DUST making it very unclear!!! I'm still gone so Dustin took this picture still unaware of what is happening in the rest of the house.....remember all those gaps in the plastic??........

I come home to bricks and rubble.....along with lots of dust and
SOOT everywhere!........

This is the hole that is left in the ceiling up to the 3rd floor. You can still see the little shaft of black soot.....

This is Saturday now and I decide to get into the action. These bricks are easily taken down by chipping away at the plaster. It's nothing like cement....more like chalk. I was surprised at how easy it was to knock these bricks out. They were barely held together.....

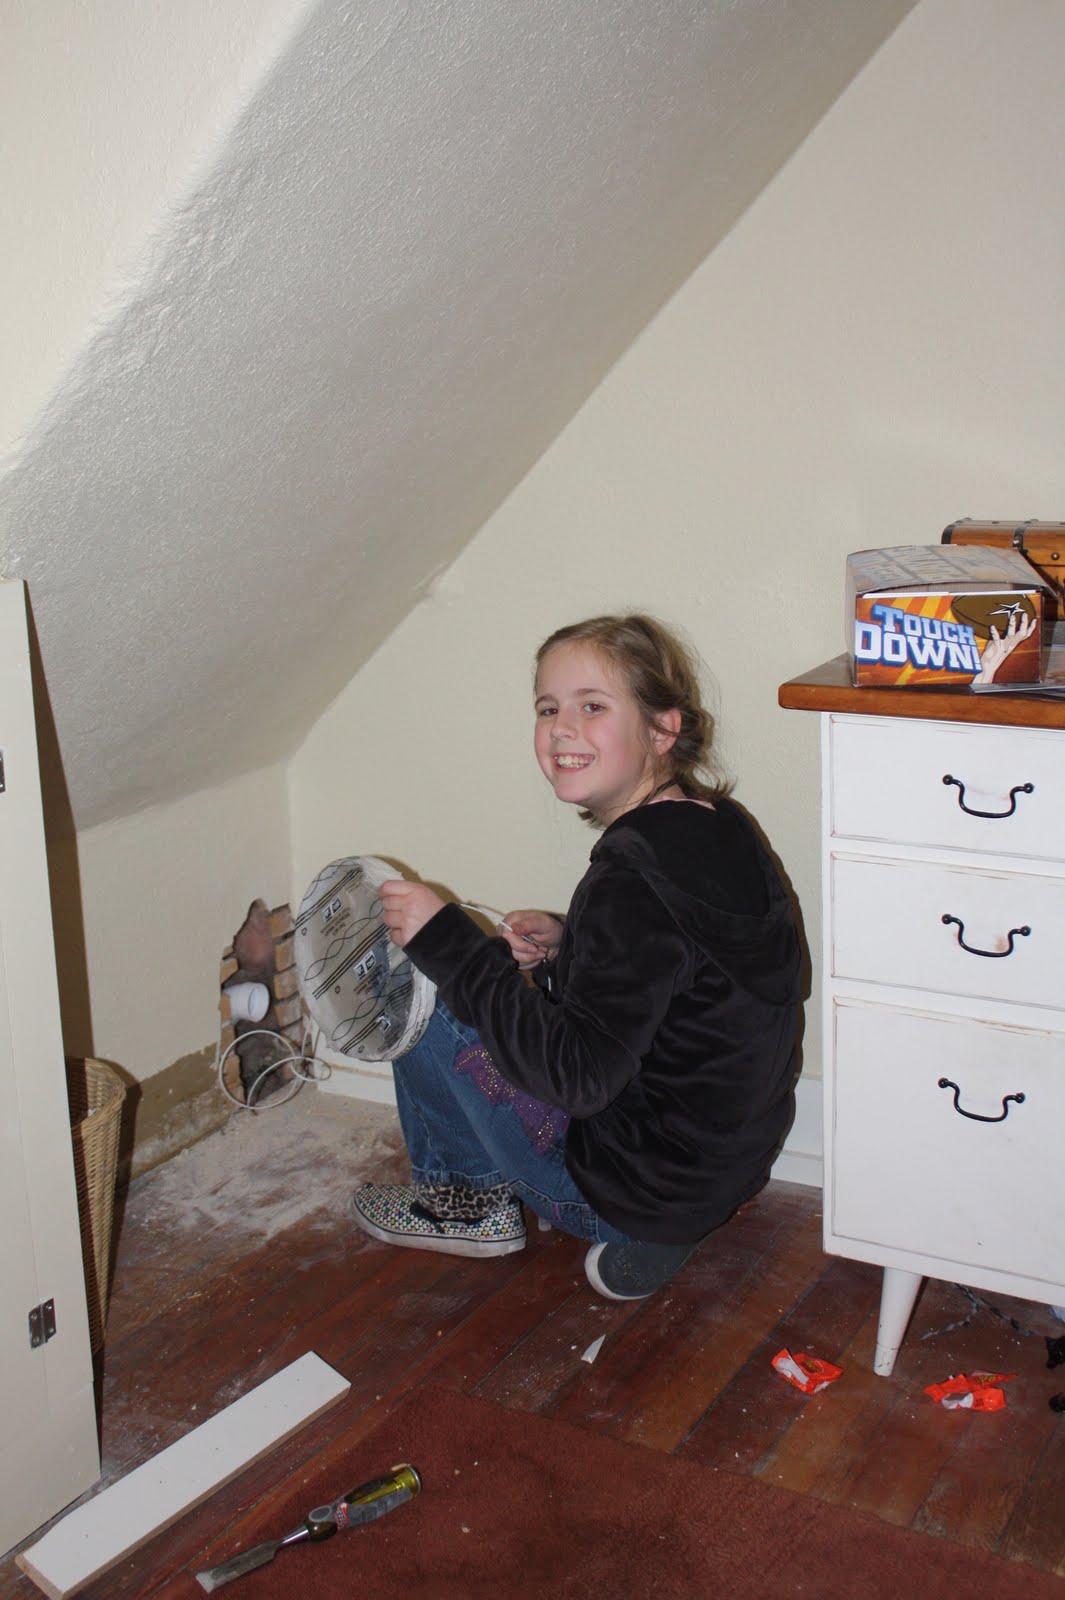
Now I'm up in Ethan's room chipping away more brick. Dustin caught most of the bricks below but some just started crashing down into the wheelbarrow below........

A closeup of the bricks. I know I'm going to have comments about not covering the floor....the clean up was easy and no floors were harmed during the project. :-)

This is as far as we decided to go.....

A look down to the kitchen......

Dustin, still all dirty, working on the hole down to the basement laundry room.....

I just had to post some pictures of the aftermath. Had I known my desk area was going to be in jeopardy, I would have put some kind of covering over it.....

I learned a lot about soot this week. It doesn't just wipe up....it smears! This is the kitchen floor and it took a few hours on hands and knees scrubbing with elbow grease and baking soda (the best thing that seemed to work) to finally clean it all up!

You can't really tell in this picture, but our new kitty has dark gray paws and chest where it is usually perfectly white. She sure had a good time watching the whole process though.....

The lovely dining room. Every inch needed to be vacuumed and wiped. Right about now I was wondering if this whole thing was even worth it.......

Here's the new laundry chute in the kitchen area. We are going to leave this wall open for future electric and plumbing projects coming up real soon. I'll be posting that next.......

Here's a side view......

So, here's the finished product up in Ethan's room. I suppose the reactions and appreciation from the kids alone was worth the project. Time heals all wounds. This week has gone by fast and I'm already forgetting how hard it was to clean up the mess......

Thought you might be curious what it looks like down the shaft. It's so full right now, it reaches up to OUR room on the main floor (on the other side of the kitchen area) where there is also a hole to put our clothes down too! I'd consider this project a success! May we enjoy years of laundry ease!


