
So, we've moved around a little....we kicked our kids out of their old bedrooms (into a new attic area - more on that later) and made it our new master "sort of" suite. I guess the reason I say "sort of" is because it's not your typical spacious master suite with big tub and walk-in closets but we love it nonetheless.
Here's Ellie's old bedroom she had for 3 years..........

Into our new Master Bedroom......

From the other angle.....

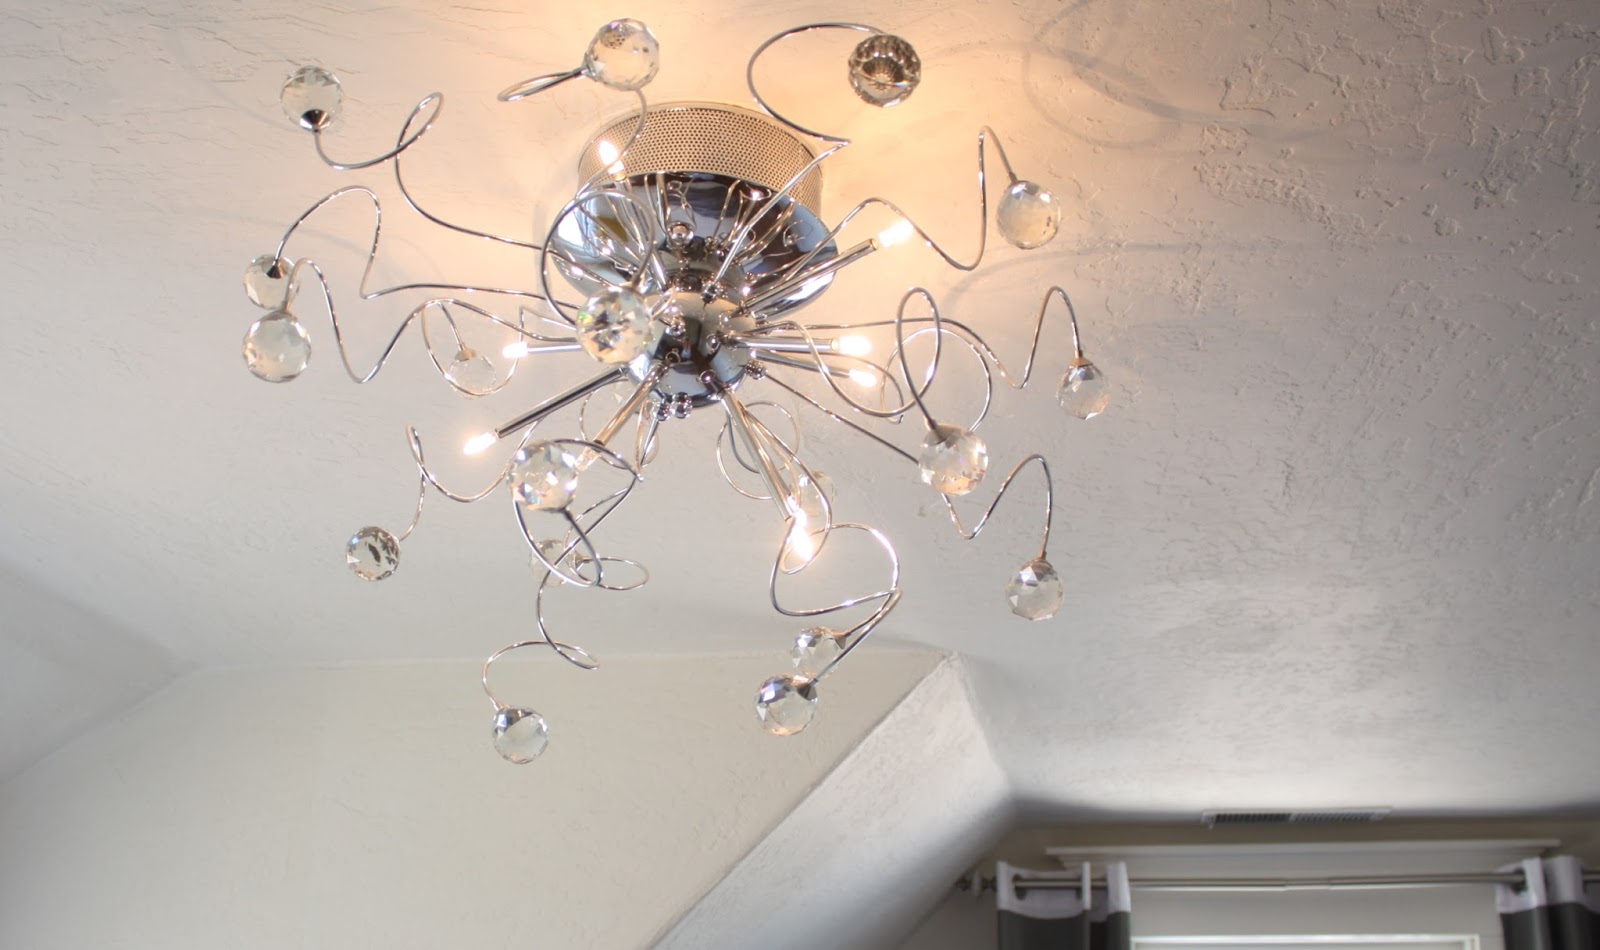
Our funky chandelier......
A little romantic lighting above the bed.......

Here's the view of Ethan's old bedroom he had for 3 years........

Tearing it up to make our new bathroom........

The old bathroom was on the other side of this wall so we had to flip the plumbing and cut out a hole in the floorboards to tie into the plumbing that was underneath..........

Adding a wall and pocket door to divide the shower/toilet area from the vanity area..........

Here's the new vanity area....

The new shower area....

Close-up of the shower/toilet room......

Here's the other view of Ethan's old room......

Here's the same view but uncovering what used to be a door (on the left) which is right at the top of the stairs.......

In between the boards written on the drywall was a fun discovery. The previous owners wrote a note back in 1998. They probably wouldn't have guessed we would open up that doorway 15 years after they closed it up! The couple wrote that they, along with their four children (all named with their ages at the time) were living temporarily in this upstairs apartment while they got the day care center off the ground. They had left their teaching professions to start this endeavor. I loved how they signed it, "May God bless this building and all those who may occupy it!"

Installing pocket doors.......

Here's the AFTER view.....

During demolition I took this picture of the laundry chute (in Ethan's room) that we made awhile back. Above the chute was the remains of the old chimney......

We had to extend it out to make the shower so here's the new laundry chute (door is open). The bottom door is for a little trash can.....


I thought Dustin was pretty genius to make the new chute angled and smooth so clothes just slide on down.....

Here's the view (from the toilet area) of where we hang our towels and have lots of storage.
We can even keep our vacuum around the corner......

Our little misc. storage and "hair station" where we keep the blow dryer, curling irons, etc...

This was the small bathroom (taken before we even moved in).......

The old gross shower.....

This is how we flipped all the plumbing from this wall to the new bathroom on the other side of the wall....

Old bathroom into a new master closet!
(I thought to take half the clothes out and make it look all fancy like the magazines....and then thought again)


